Add an Image to the scene
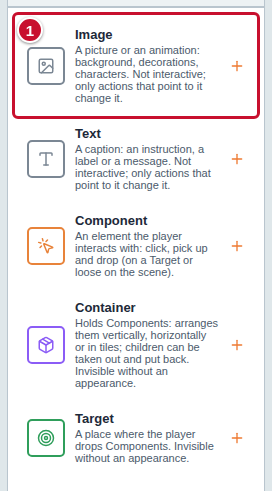
An Image is a picture on the scene: a background, a decoration or a character. The player does not click it or drag it.
Before you start: an exercise is open in the editor (see Start a new exercise) and you have a picture file on your computer (PNG, JPG, GIF, WebP or SVG).
Add an Image
-
In the Components panel on the left, click Image (marker 1 in the screenshot).
-
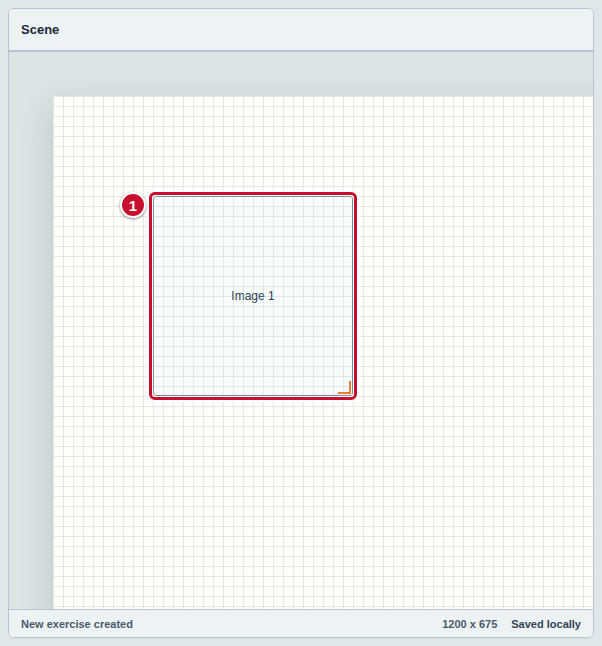
A new Image appears on the scene and is selected right away (marker 1). It is an empty rectangle with the label “Image 1” — still without a picture. Its name is also in the Scene elements list.
Choose a picture file
-
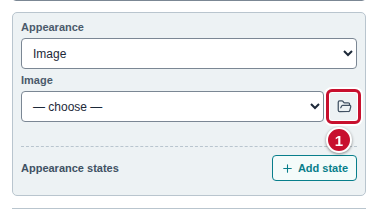
In the Inspector panel, in the Appearance section, click the folder icon next to the Image list (marker 1). The tooltip of the icon is “Asset library (add or choose a file)”. The Assets window opens: the library of the exercise files. The same library opens with the Asset library icon on the toolbar.
-
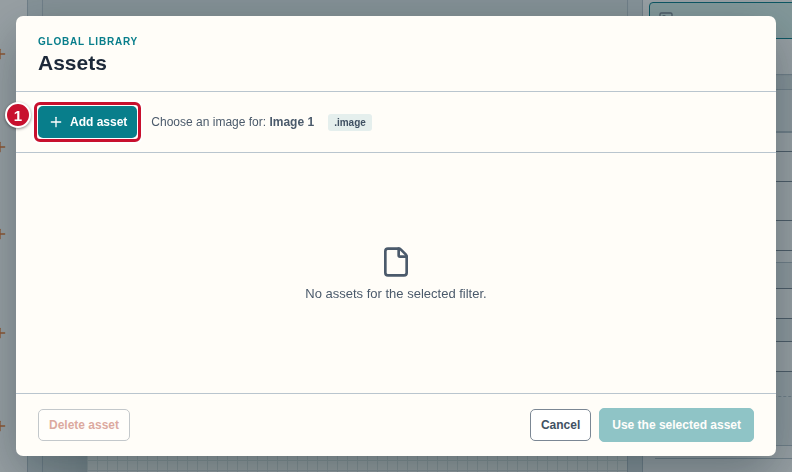
In the Assets window, click Add asset (marker 1). Your browser opens a window for choosing files: pick the picture file and confirm.
-
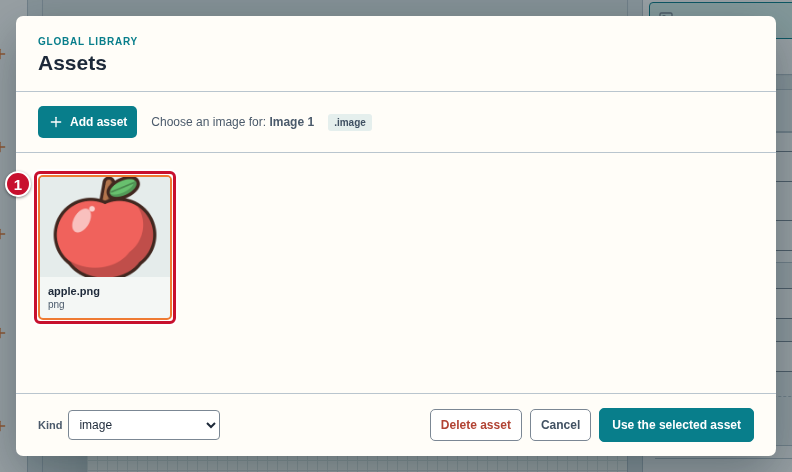
The file appears in the window as a tile with a preview and the file name. It is selected right away with an orange frame (marker 1). If you added several files earlier, click the one you want.
-
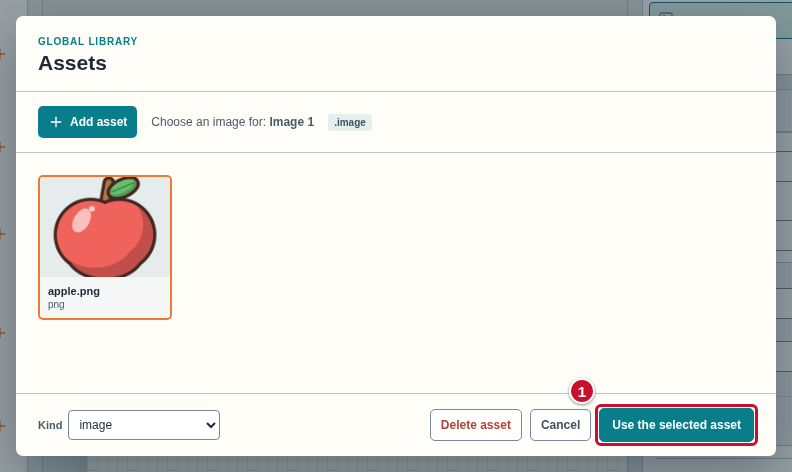
Click Use the selected asset (marker 1). The window closes.
-
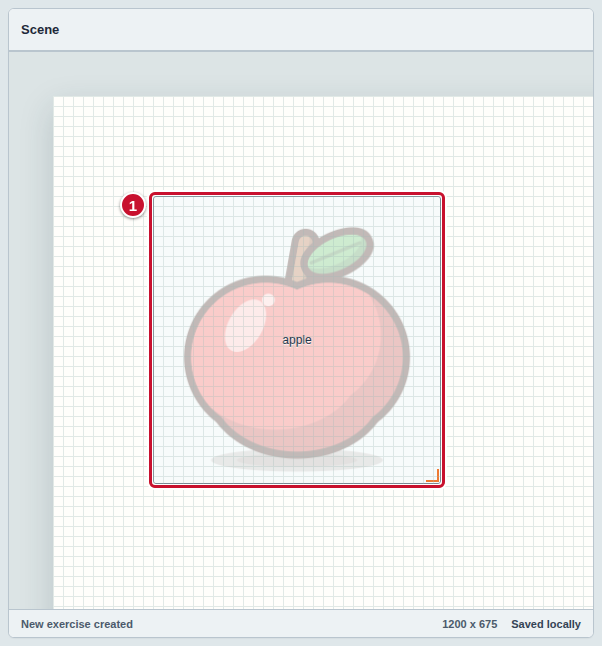
The Image on the scene shows the chosen picture (marker 1), and its size adjusts to the picture. In the Scene elements list, this Image is now named after the file.
Change the picture later
Select the Image on the scene or in the Scene elements list (see Select an element), click the same folder icon in the Inspector panel and repeat steps 3 and 4 of the previous section. The files you have already added to the exercise stay in the Assets window, so you can choose the same picture for another Image without picking the file again.
A picture in several languages
When the exercise has more than one language (see Exercise languages), small buttons with language codes appear under the card of every asset in the Assets window. As long as you do nothing more, all the languages use the same file. If the picture contains a caption and you want a different file for each language, see the page Add an image in language versions.
Common mistakes
- Several clicks make several Images. Every click on Image in the Components panel adds a new element (Image 1, Image 2…). You can delete the extra one as described on Select, copy and delete elements. You can undo a mistake with the Undo the change icon on the toolbar.
- An Image without a file. An empty rectangle with a label is an Image that has no picture yet. As long as it is like that, the editor counts it as a problem and does not let you run the exercise — see Check the exercise before you run it.
- A faded button. The Use the selected asset button is faded (light green) and does not react when no file is selected in the window. Click the tile with the file.
- The wrong kind of file. For an ordinary picture, the Kind field in the lower part of the window has the value “image”. The value “animation sprite sheet” is for files with the consecutive frames of an animation.
- Small buttons pl, en… under the asset card. These are the language keys of the exercise, not separate files. You do not need to click them if the picture is to be the same in every language.
- Looking for an Image in the Scene elements list. This list shows only the elements that are already on the scene. You add a new element from the Components panel.